
i have had several people request a tutorial for a block i made. i saw it online but couldn't find a tutorial anywhere, so i made up my own. it's the same block i saw, i just had to figure out the sizes of each piece so it would measure 12.5" finished. well, i am happy to say that i have done so...and i am going to share it with you! the quilt below is what i will show you how to assemble. i used almost all of the fabric from the 12 FQ's to make this lovely quilt. i used the left over pieces to make the back, and therefore, didn't have to buy any additional fabric. i even had extra stips that became the binding. the quilt below is the finished baby quilt i made with the fabric.

this is the back of the quilt.

to make this size quilt i used 12 FQ's and about 1/2 a yard of solid white for sashing and centers.
first thing you want to do is press/iron each FQ so that it is nice and even for cutting. i use Best Press to do this, but you can also use starch it really only depends on your preferences.

to start off with the center sections of each square, first trim the edge so it's a straight line. next, cut one strip that is 4 1/2" x 44". this will be the center of each block. i used white, however you can use any fabric you like.

next, cut 9 squares each should be 4 1/2 inches square. (if you are making a larger quilt, then change the number of squares you need)

here i have my 9 squares that will be for the center of each block.

next you want to cut each FQ into 5 strips each being 2 1/2" x 18" like this:

here are all 12 different fabrics cut into 5 strips each.

you're probably wondering what to do with the remaining pieces from each FQ...well, save those for the end. we will be piecing them together to make the backing of this quilt. so for now, just set them to the side.

next, you want to cut each strip like this: make two stirps that measure 6 1/2" and one that measures 4 1/2". continue until all strips are cut and you have a nice selection to use.

i like to organize them so i can pick and choose for assembly. this is what my piles look like while i am assembling each block.
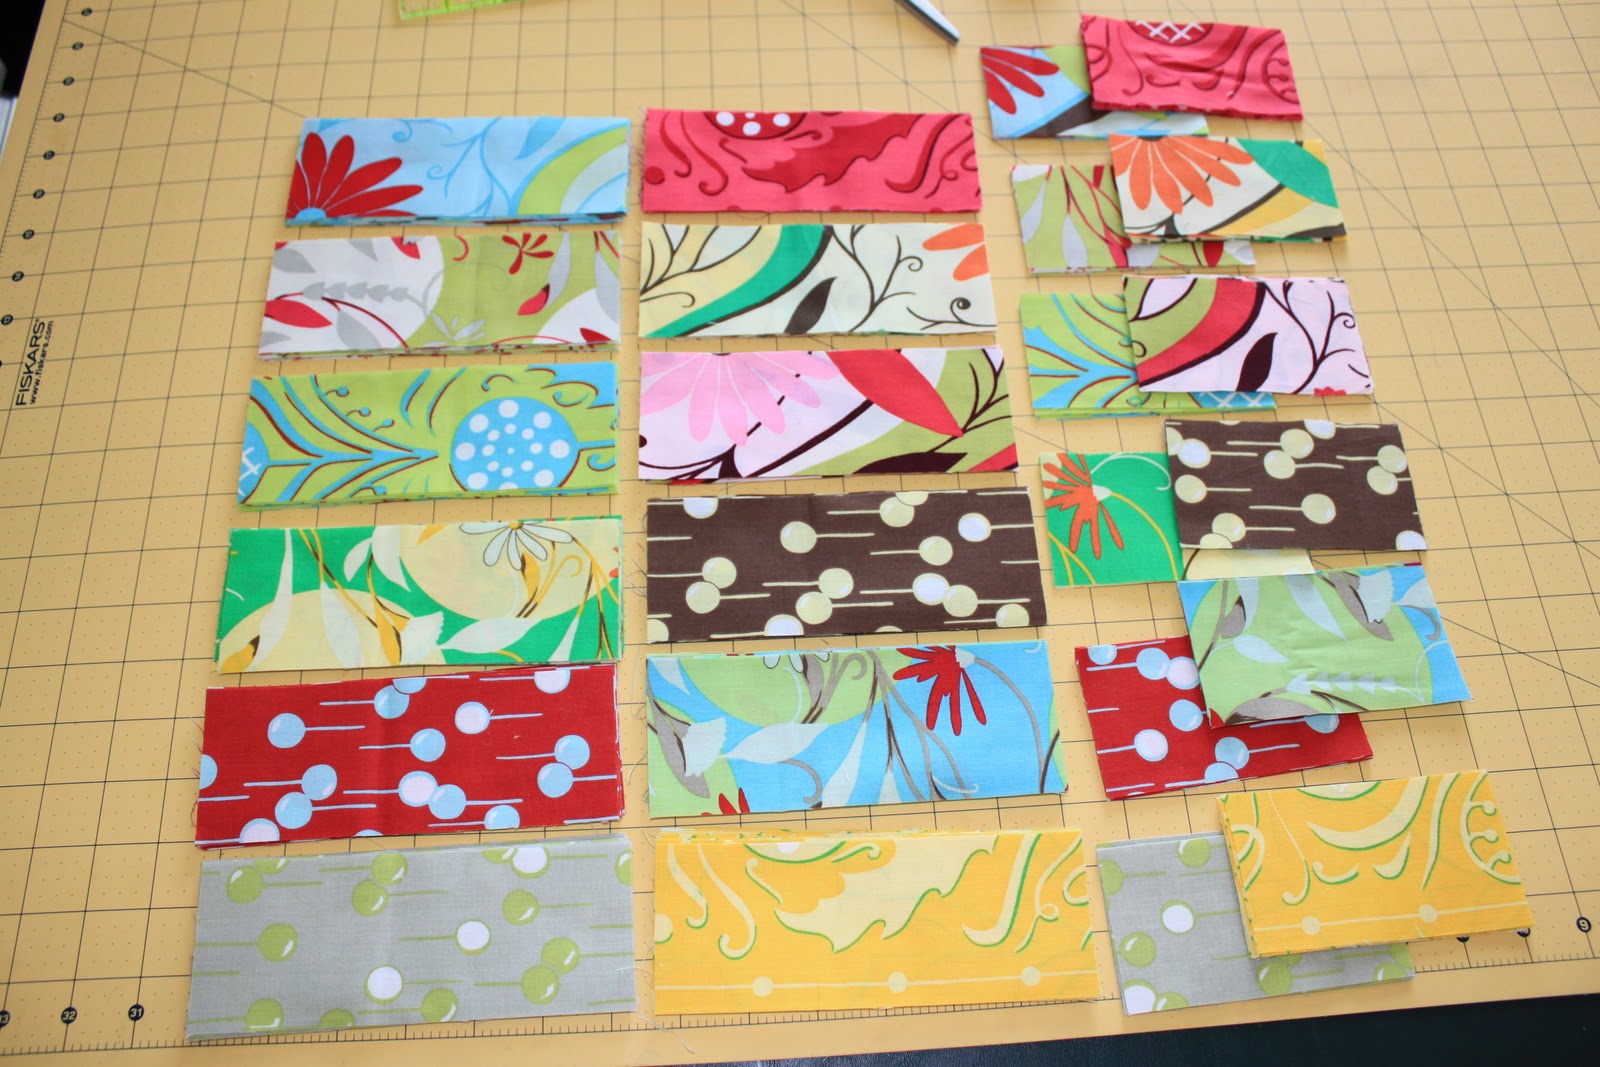
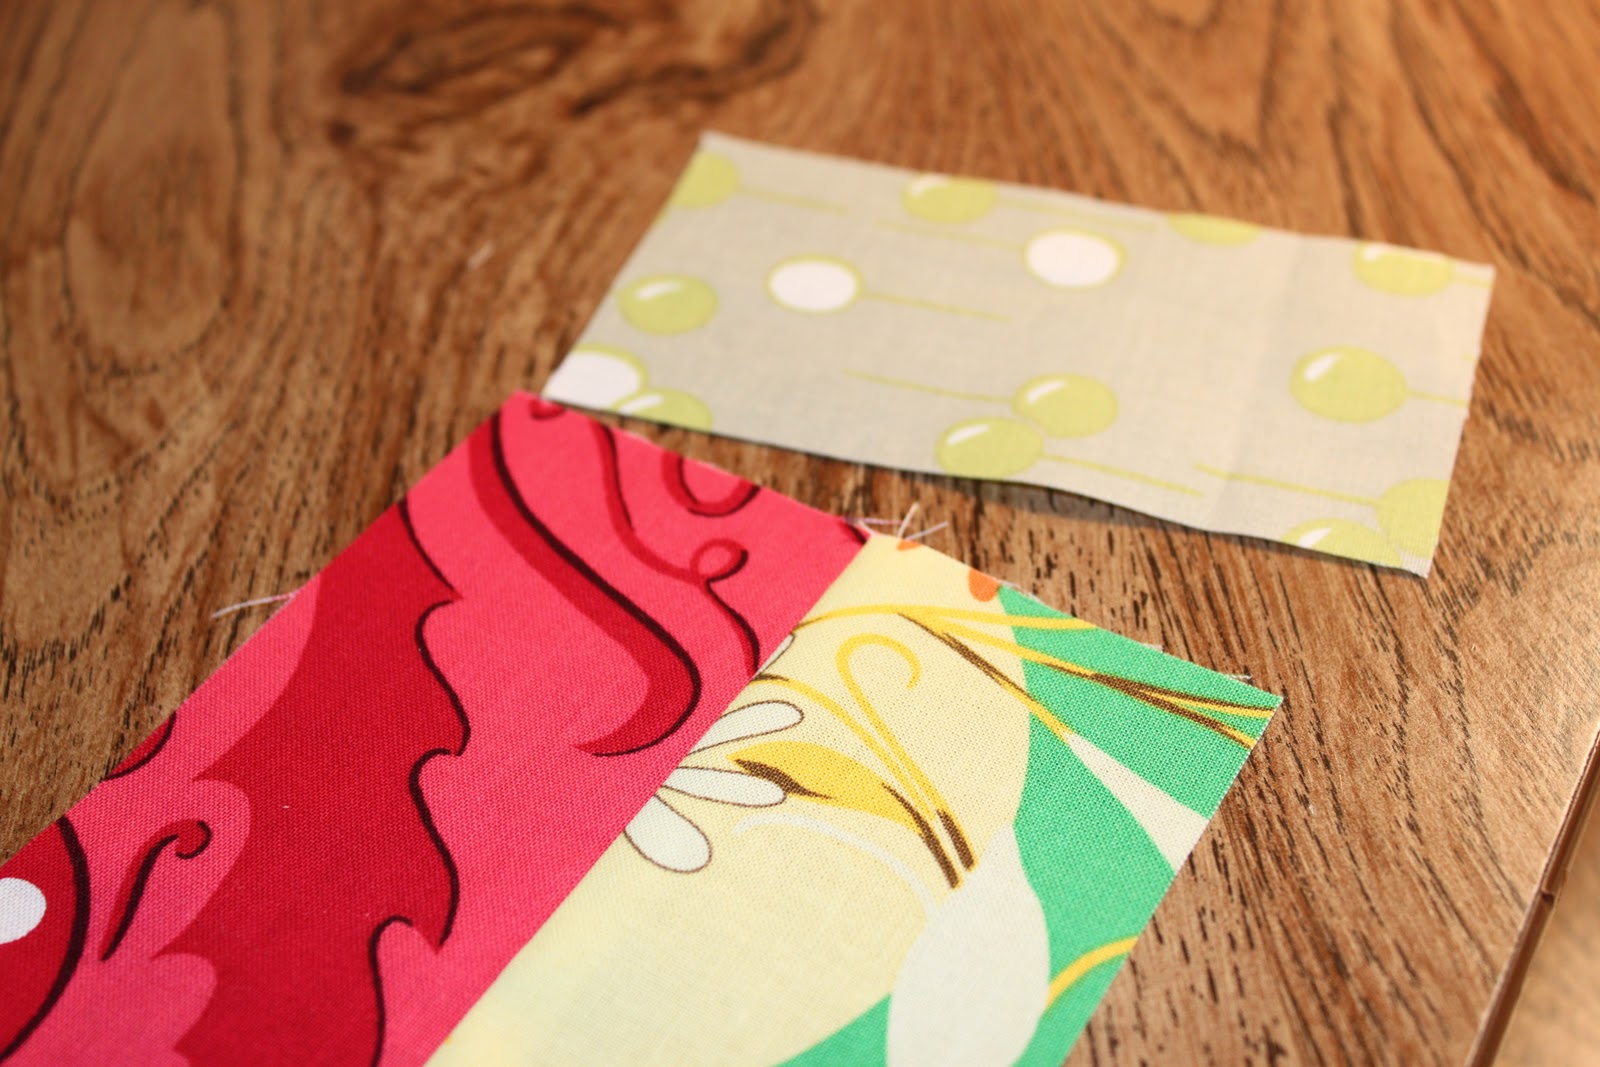
after you select 2 longer pieces and 1 shorter one, lay them out and put the pieces together. i like to play a round with this part to see what works best with each one. i like to have different fabrics together, gives it more of a scrappy look.

make sure you sew the pieces with a 1/4" seam

i press each seam going one way....but you can do it how ever you prefer.

next, you take your top piece and lay it out...it sould be about the same size as the two pieces sewn together.
making sure to sew right sides together, this is your next step.

1/4" seam allowance on this section as well.

here is your first finished peice.

after you have your pieces assembled, you lay them out like this and get ready to sew the block together.

first, you want to take the center piece and one of the side pieces and line them up like this:

sew them together, once again using a 1/4" seam allowance, however with this first part, you don't want to sew to the end....see where my needle is? i have stopped about 1/4" away from edge...this is very important.

here is a better picture of it...make sure you only go this far on the first part.

next, you take your second part and sew along the edge, this part is easy.

repeat for each side.

now, for the last part......

on the fourth section, you won't be sewing to the edge either....you will do the same as you did on the first section...i will show you why.

bring your needle to a stop right at the edge like here....do not go on the fabric for the first piece.

see how the fabric is?

next, the two pieces in the above picture are what you need to sew together, so fold both right sides together like below.

now, do you see where the thread is from the first pieces sewn together? sew until you meet up with that part.

this is how the back should look....lays down nicely for the quilting process.

and...here is the finished block! repeat until you have all your blocks for your quilt.

i used white as sashing to seperate each block and as you can see from the quilt above, i used a white sashing strip to seperate each fabric piece on the back. i had very little fabric left over from the 12 FQ's and this is such an easy one to make. my friend absolutely loved the quilt she received for her baby, and i'm sure yours will be received with joy too!
i would LOVE to see pictures of your finished blocks and quilts! if you make them, link to me and send me an email as well so i can head on over to your blogs/flickr/whatever and see your work! happy sewing and i hope this helped. feel free to email me with any questions!
Very nice tutorial!!!Thanks!
ReplyDeleteHugs from Brasil!
Looks like fun! I love quilts that utilize fat quarters (since I buy lots of them!).
ReplyDeleteLove it
ReplyDelete